
Contact the T&L Technologies Helpdesk:
Log a request
Click on “Something is not working” >> “T&L Technology Support”.
T&L Technologies Helpdesk contact numbers: 018 285 5930
Available on weekday 08:00am - 16:45pm

FAQs: General Questions
Q: Who can I contact to create Lessons on my module site?
Answer: For assistance in creating Lessons pages on eFundi feel free to contact a learning developer: Naldo Oberholzer - Naldo.Oberholzer@nwu.ac.za / 018 285 2888 Fundiswa Ngomani - Fundiswa.Ngomani@nwu.ac.za / 018 285 2897
Q. In Assignments can students submit hand written answers (no computer) by taking photos and submitting these?
Answer: Yes, however Turnitin will not be able to recognise similarity due to the assignment being an image. Also, if there are more than one image (more than one page) for one submission, it is suggested that they combine the images into one file such as a PDF. Do note that Turnitin will still not be able to check for any similarity as it is unable to read text from an image.
Q. How do I register an eFundi account?
You cannot register online to get an eFundi account. Once you are a registered student or staff member, you automatically gain access to eFundi with your student/staff number as username and the password is set up during registration. If you did not set up a password, please go to the IT helpdesk in Building 13, in the basement and ask one of the friendly assistants to help you set up your password.
Q. How can I stop all the eFundi e-mails?
To reduce the amount of e-mails you receive from eFundi, you can:
- Change the notification setting in your Home>Preferences. Click here for the tutorial.
- Take note of the notification settings of individual tools. Make sure that you do not tick the options to receive e-mails with every assignment submission or every forum post.
Q. How do I check that eFundi has a valid e-mail address for me?
It is important that we have your latest valid e-mail address to ensure that you get your notifications, and for TurnItIn to work.
To check that we have the correct e-mail address:
Go to the Home tab at the top of the screen, and select the Profile option in the menu on the left of the screen. Check your e-mail address in the Contact Information section.

If your e-mail is incorrect, how do you fix it?
All NWU will automatically be linked to eFundi with their staff GroupWise email addresses. However, if you experience any issues with your email as linked to eFundi or if the email is captured incorrectly, please contact the IT helpdesk and ask one of the friendly IT assistants to help you reset your e-mail address
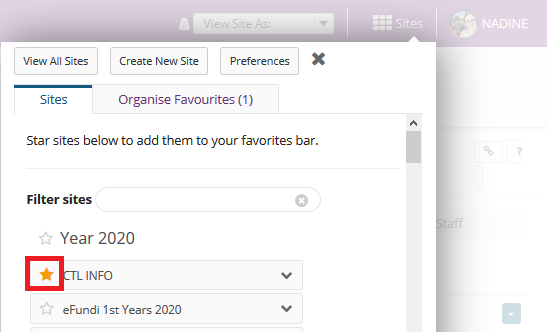
Q. How can I move modules to display at the top of my screen?
You have to favourite the sites you wish to see in the top bar permanently. To do this, click on the sites icon at the top right of your screen, then click the star next to the modules you want to move to the top bar.
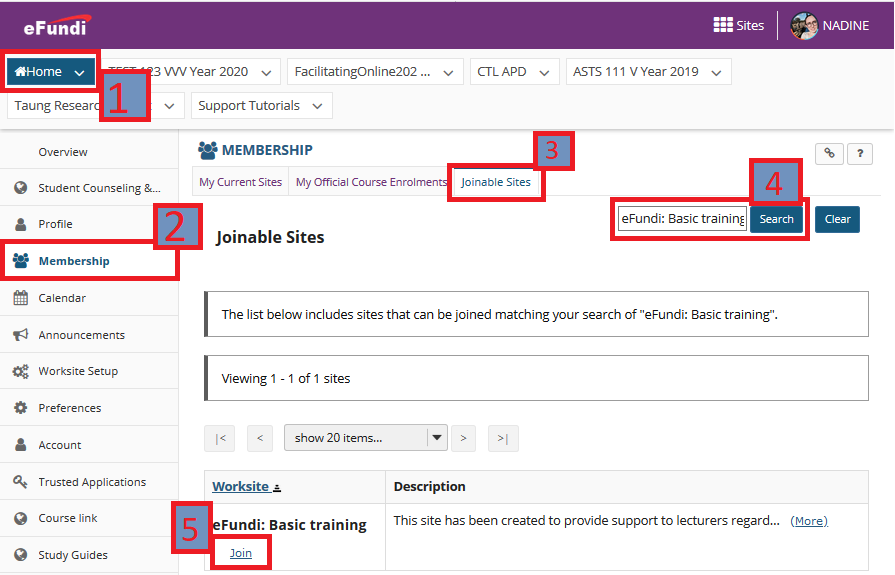
Q. How do I join a public site?
Some sites on eFundi have general information and are open to all staff and students. To join a site, simply go to your Home page and click the Membership option in the menu on the left of the screen. Select the Joinable Sites tab at the top. Find the site you wish to join, and click the Join link below the site name.
Q. Why can't I see my modules on eFundi?
Remember that it is each individual lecturer's work to create their own module sites. For steps on how to do this, click here.
If you have already created your site but still cannot see it, check in your site drawer by clicking on the Sites icon at the top right of your screen.

If you cannot find it in the Sites Drawer, navigate to your Home page, click on the Worksite Setup option in the menu on the left of your screen and search the module there.

If you still cannot find the module, please contact your campus support desk.
Q. Why can't my students see my modules on eFundi?
There are several reasons why students sometimes cannot see a module on eFundi. Steps to follow when a student claims they cannot see your module include:
- Did you create your eFundi site correctly? Go to your module site and click on Site Info to check whether the students have been added to the site. If you only see your own name, you did not follow the correct steps to create your site. Contact your eFundi Helpdesk for assistance on how to fix this.
- If your site is created and students have been uploaded to the site, it is possible that your student registered late. You can give the student access manually by adding the student as a participant. Be sure to first ask for their proof of registration on which the module code should reflect before adding them to your site. For steps on how to do this, please refer to the Site Info tutorial.
FAQs: Course Site Administration
Q. I created multiple module sites, but only see one. Where are my other sites?
Please note that you can only create one module site at a time. If you selected multiple module codes during the creation process, one site will be created and students registered for all the different modules will have access to that one site.
Contact your campus support for help to fix this.
Q. How do I edit the tools available on my site?
Go to your module site and select the Site Info option in the menu on the left of your screen. Click the Manage Tools tab at the top of the page. Check or uncheck the tools you want to add or remove, and then click Continue. Confirm the changes and click Finish.
NOTE: For some tools such as lessons or web content, you will be prompted to provide additional information before finishing.
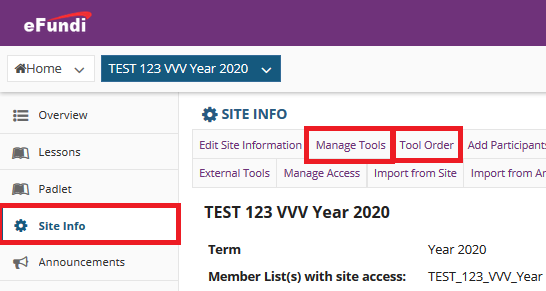
Also note that you can edit, rename , hide or remove tools on the site by going to Site Info and accessing the Tool Order function. Click on the gear button to make any changes. Remember to save your changes.
Q. How do I create groups on my site?
There are several tools in eFundi that allows you to make use of groups. To create groups, navigate to the Site Info option on your module site and click the Manage Groups tab at the top. If you need more guidance, please refer to the Site Info tutorial.
FAQs: Tool specific questions
Q. Why can't my students see their released grades in Gradebook?
Check that you did release the grades. Released grades will display in blue text.
If the grades are released and students still cannot see their grades, go to the Gradebook Setup and check that the Gradebook items display checkbox is ticked.
Q. Why can't I import grades in the Gradebook tool?
We apologise for this known issue. We are working hard to correct this. In the meantime, you can import grades using the Gradebook Classic tool. For steps on how to do this, please refer to the Gradebook tutorial.
Q. How do I add images to my different eFundi tools?
You will add images using the rich text editor in eFundi. Start by first uploading your images to your Resources tool. (Tip: You can hide the folder you upload the images to, especially if you are going to use the images in a test or quiz).
Then navigate to where you wish to add the image. In the rich text editor, click on the image icon:

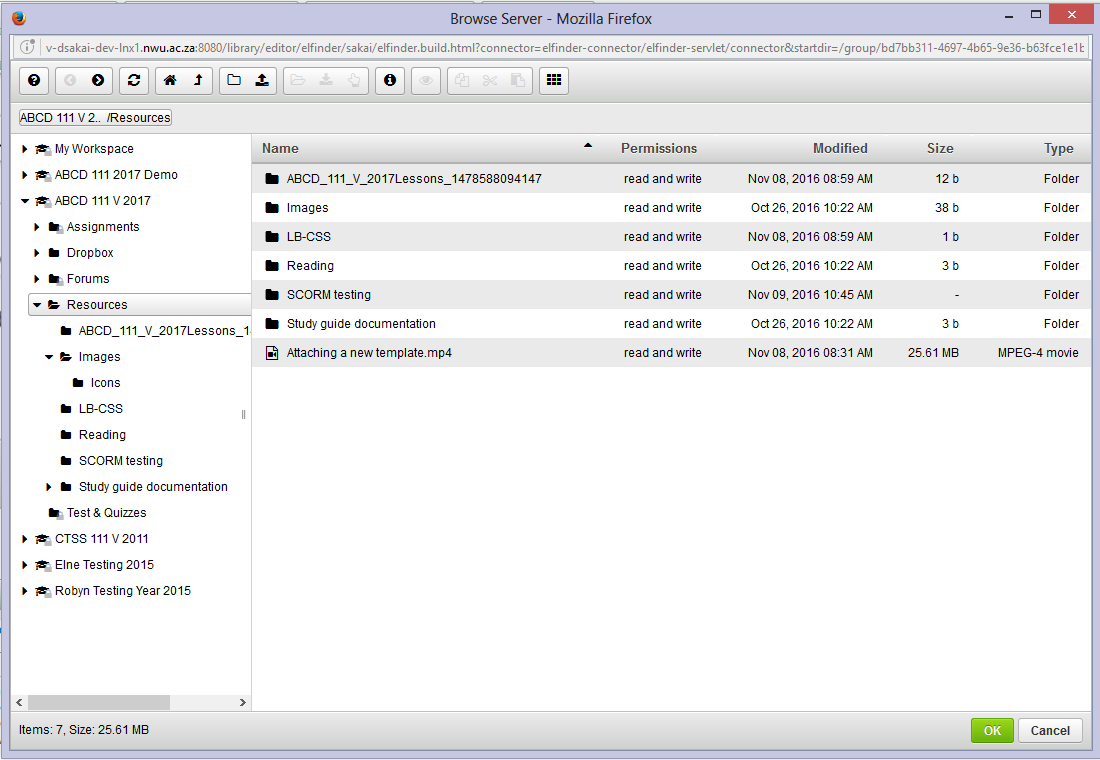
When the Image Properties pop-up appears, click the Browse button:
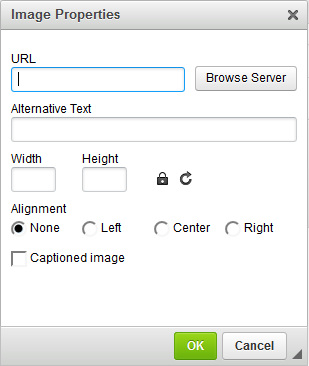
A window will appear with all your resources. Select the image you want to add, then click the ok button. Set the size of your image, then click the ok button.
(This is the Staff eFundi Support page, for Student eFundi Support click here)
Overview
CTL offers a professional Teaching and Learning Technology Helpdesk service for staff and students. Find their contact details below. This page inculdese FAQ's and tutoruials in video and PDF format. Visit the CTL training calendar for more specialised training in using eFundi tool effectively for teaching and learning.
eFundi Tool Tutorials |
||
Lessons |
||
Lessons - Setup Navigation Structure |
Cheat sheet | |
|
|
|
|
Video | |
|
Video | |
|
Video | |
|
Video | |
|
Video | |
|
||
Lessons - Add interesting content |
Cheat sheet | |
|
Video | |
|
Video | |
|
||
|
Video | |
Lessons - Create interaction |
Cheat sheet | |
|
Video | |
|
Video | |
|
Video | |
|
Cheat sheet | Video |