Studio 1
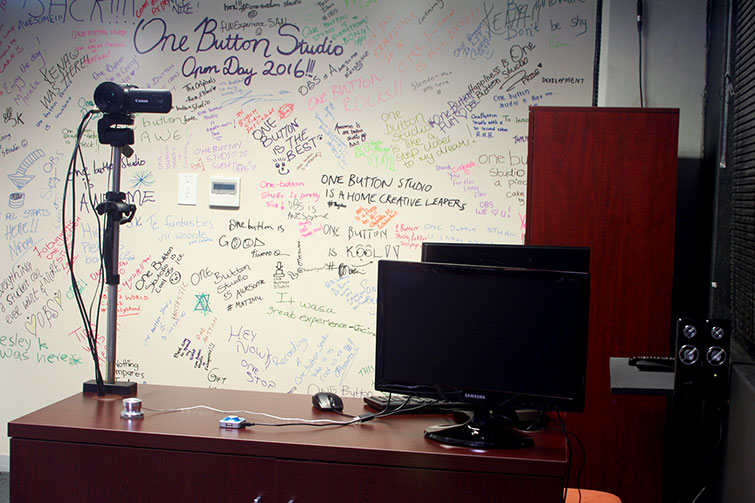
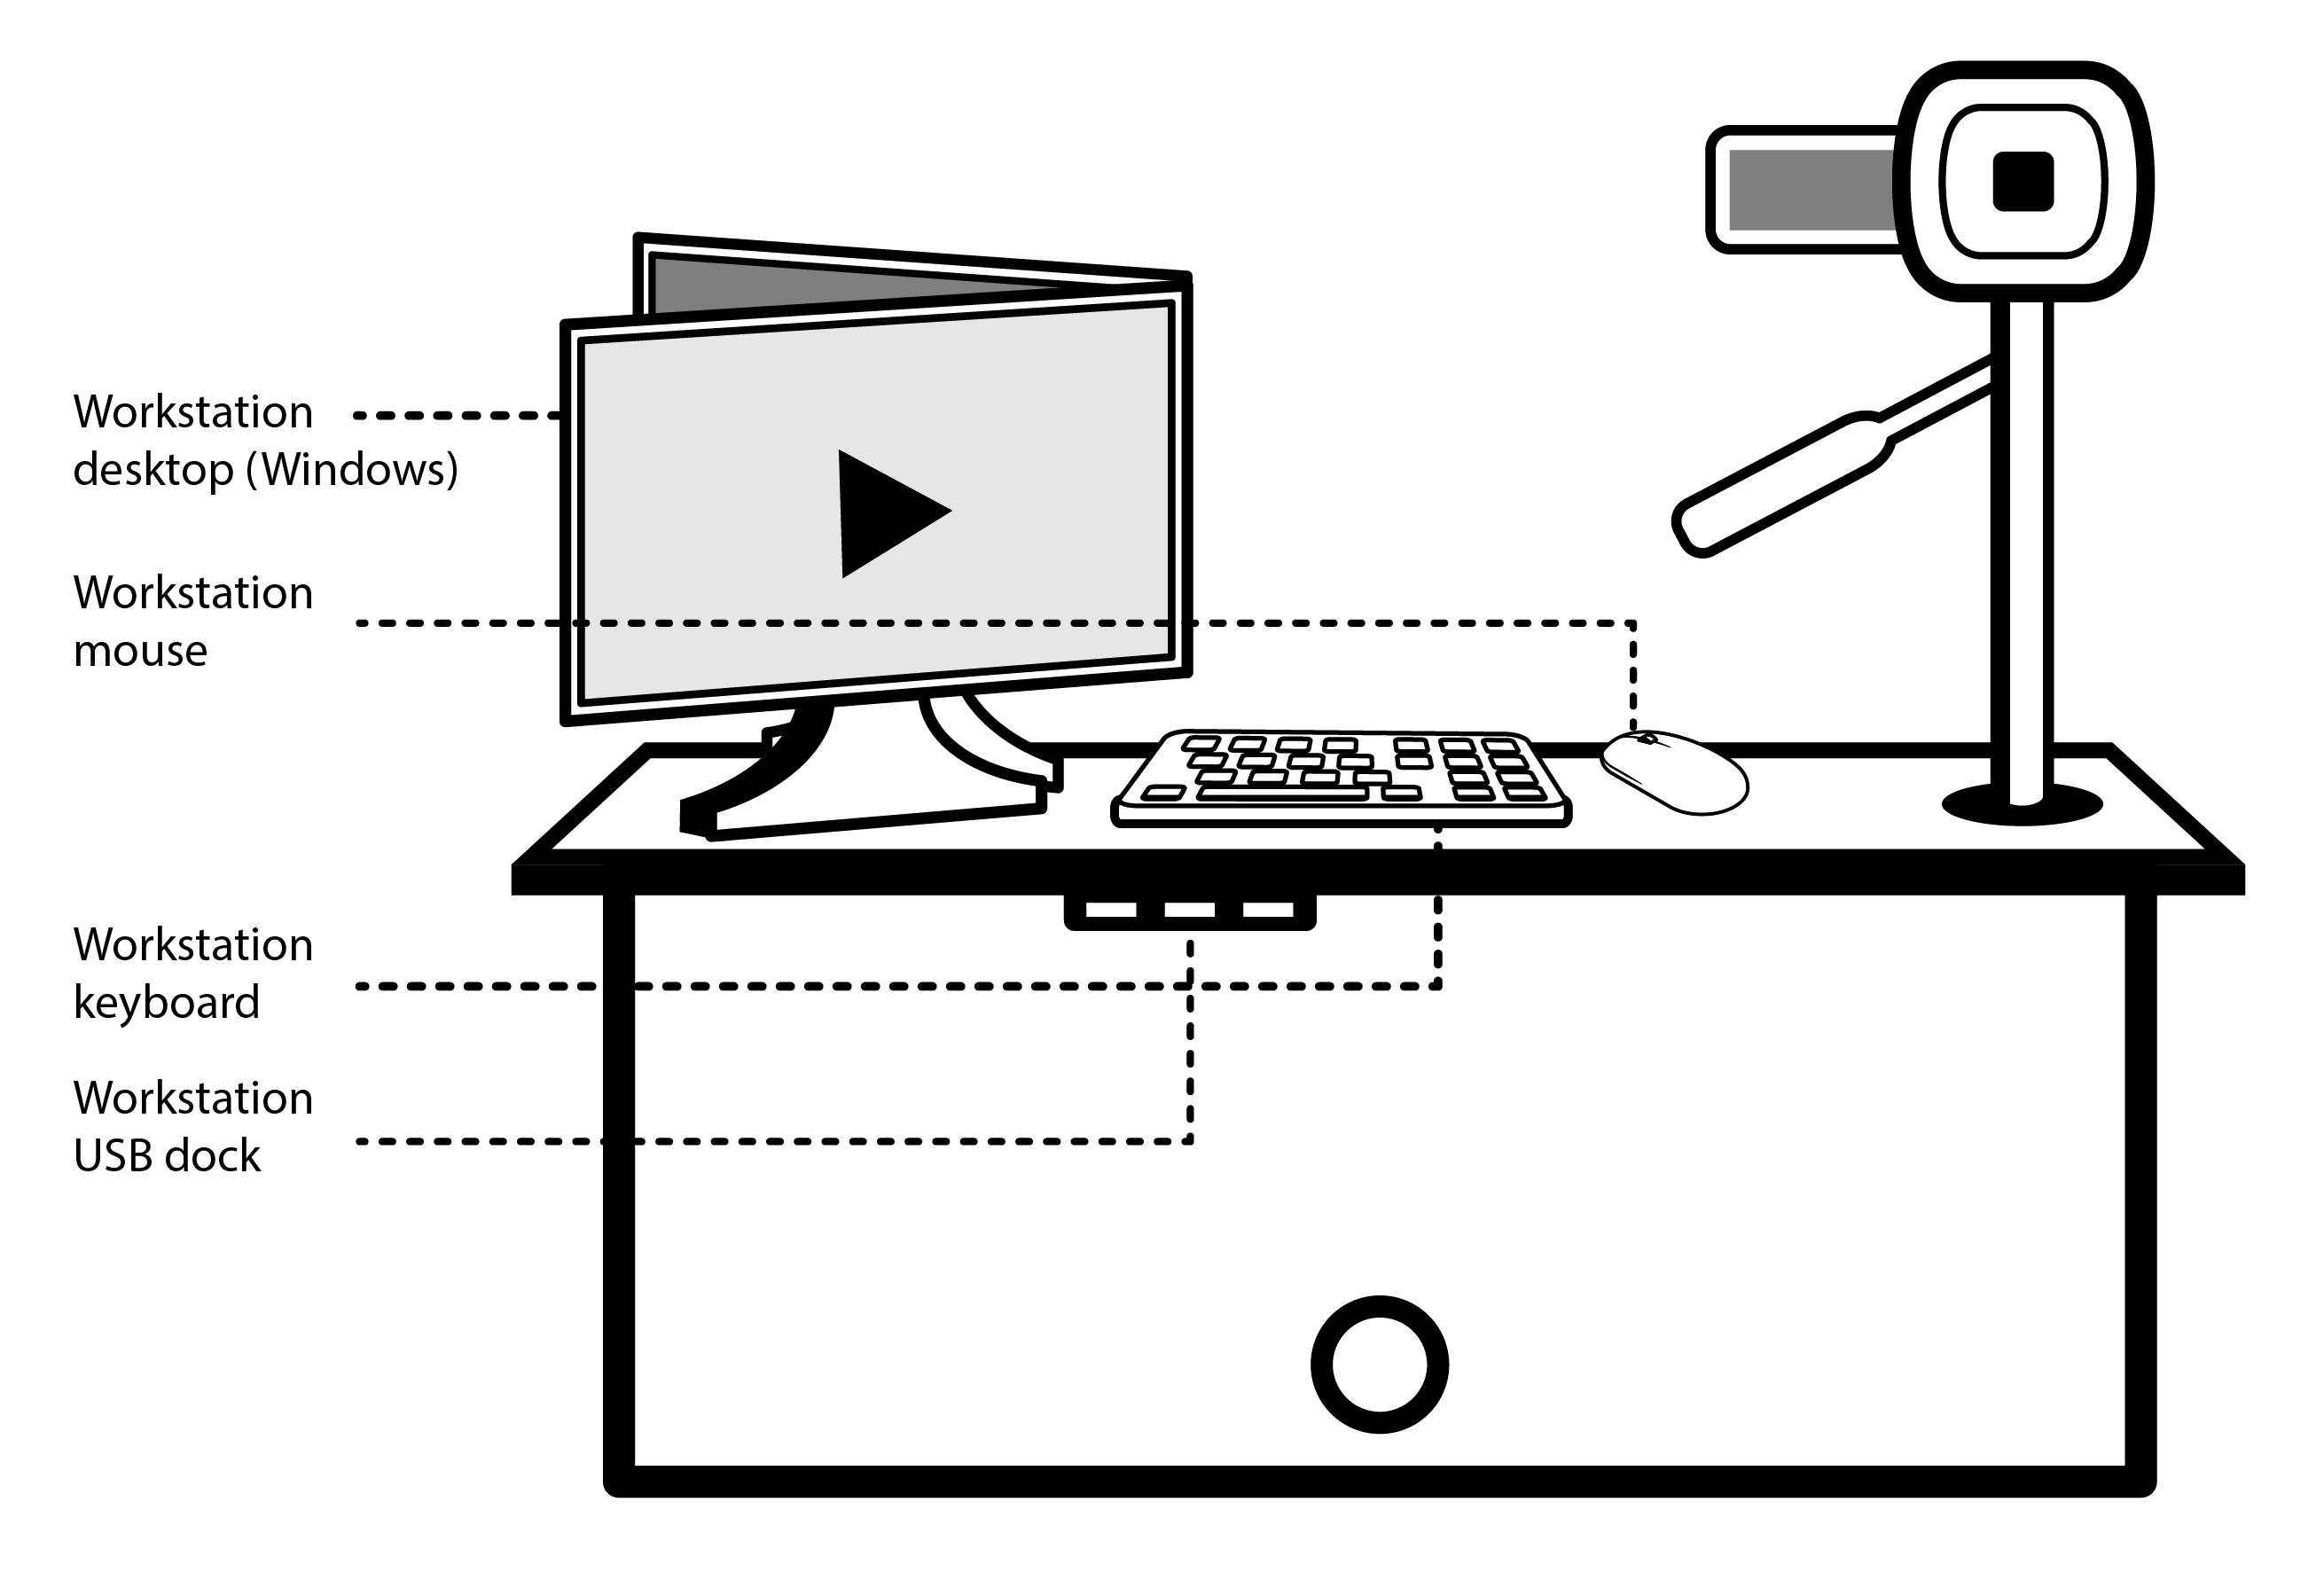
One Button Studio Desk
- Do not adjust the camera or the camera's recording settings.
- Do not move the desk.
- Do not remove the button or hub.
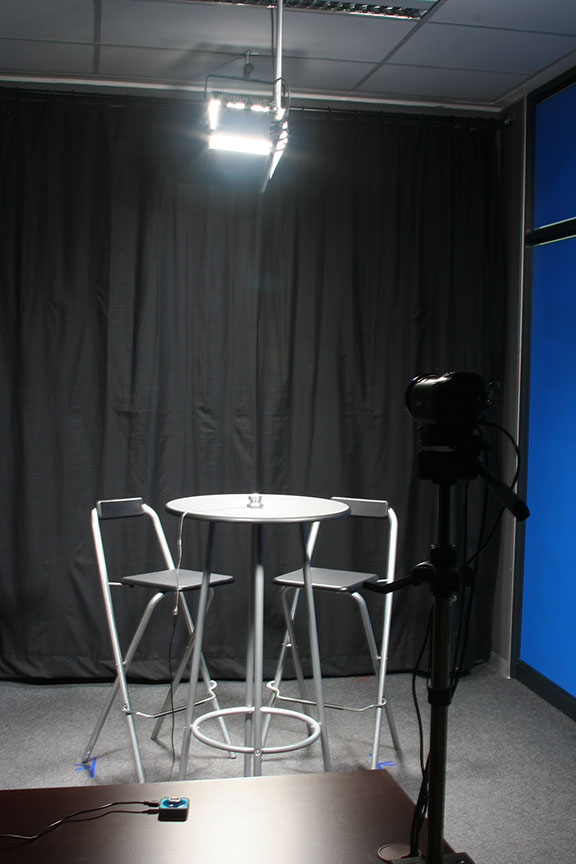
Backdrops
- There are several backdrop options available that include: White backdrop, Black backdrop or Grey wall
- A green screen is available on request to academic staff.
- A green screen is available on request to students (who have access to Adobe Premiere Pro or similar software to do their own editing).
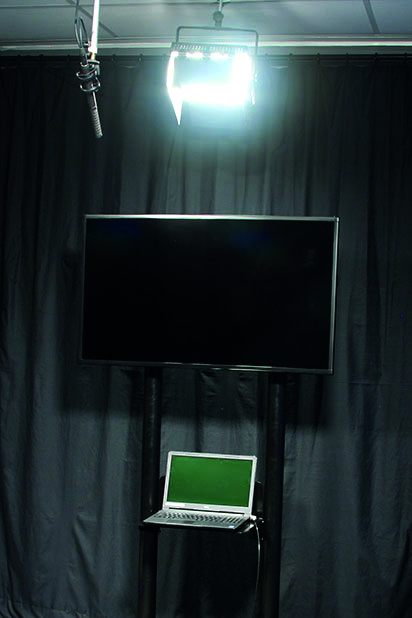
TV and Laptop
- There is a TV and laptop available so that you can present with powerpoint or other media.
- Please use the TV remote to switch the TV on.
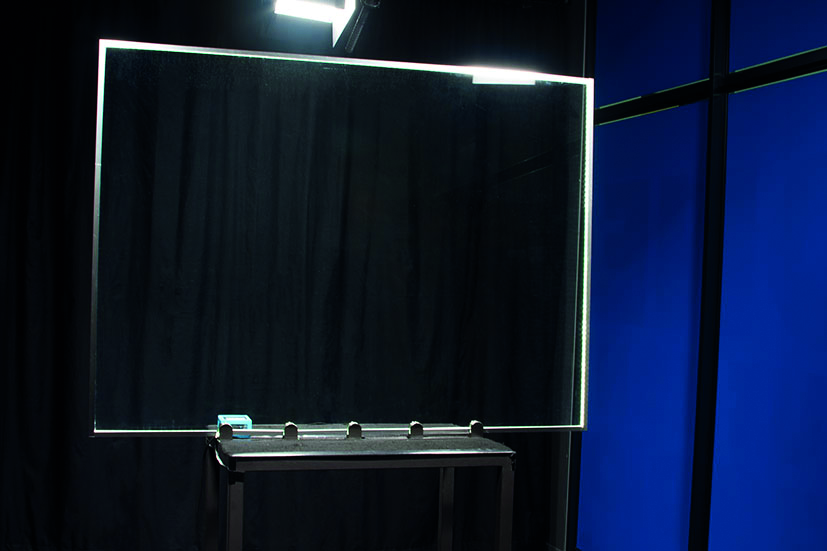 Lightboard
- The lightboard is available on request to academic staff.
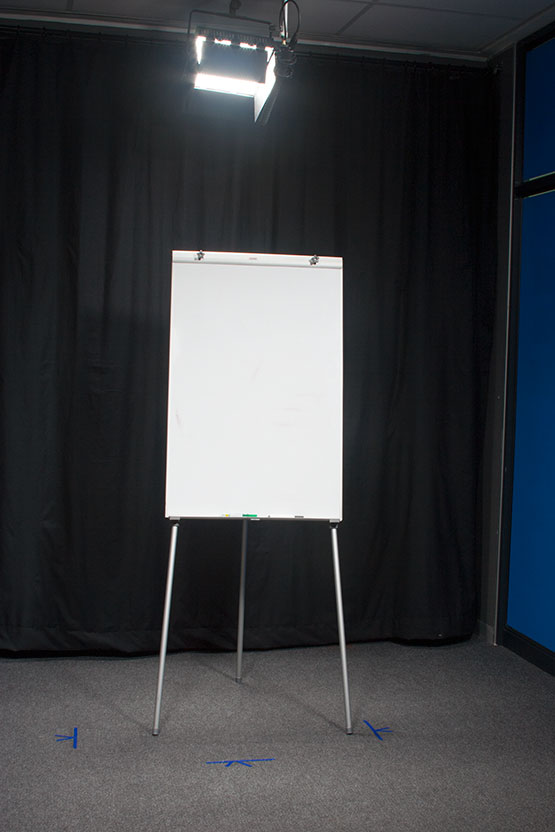
Flipchart
- The flipchart is available on request to academic staff.
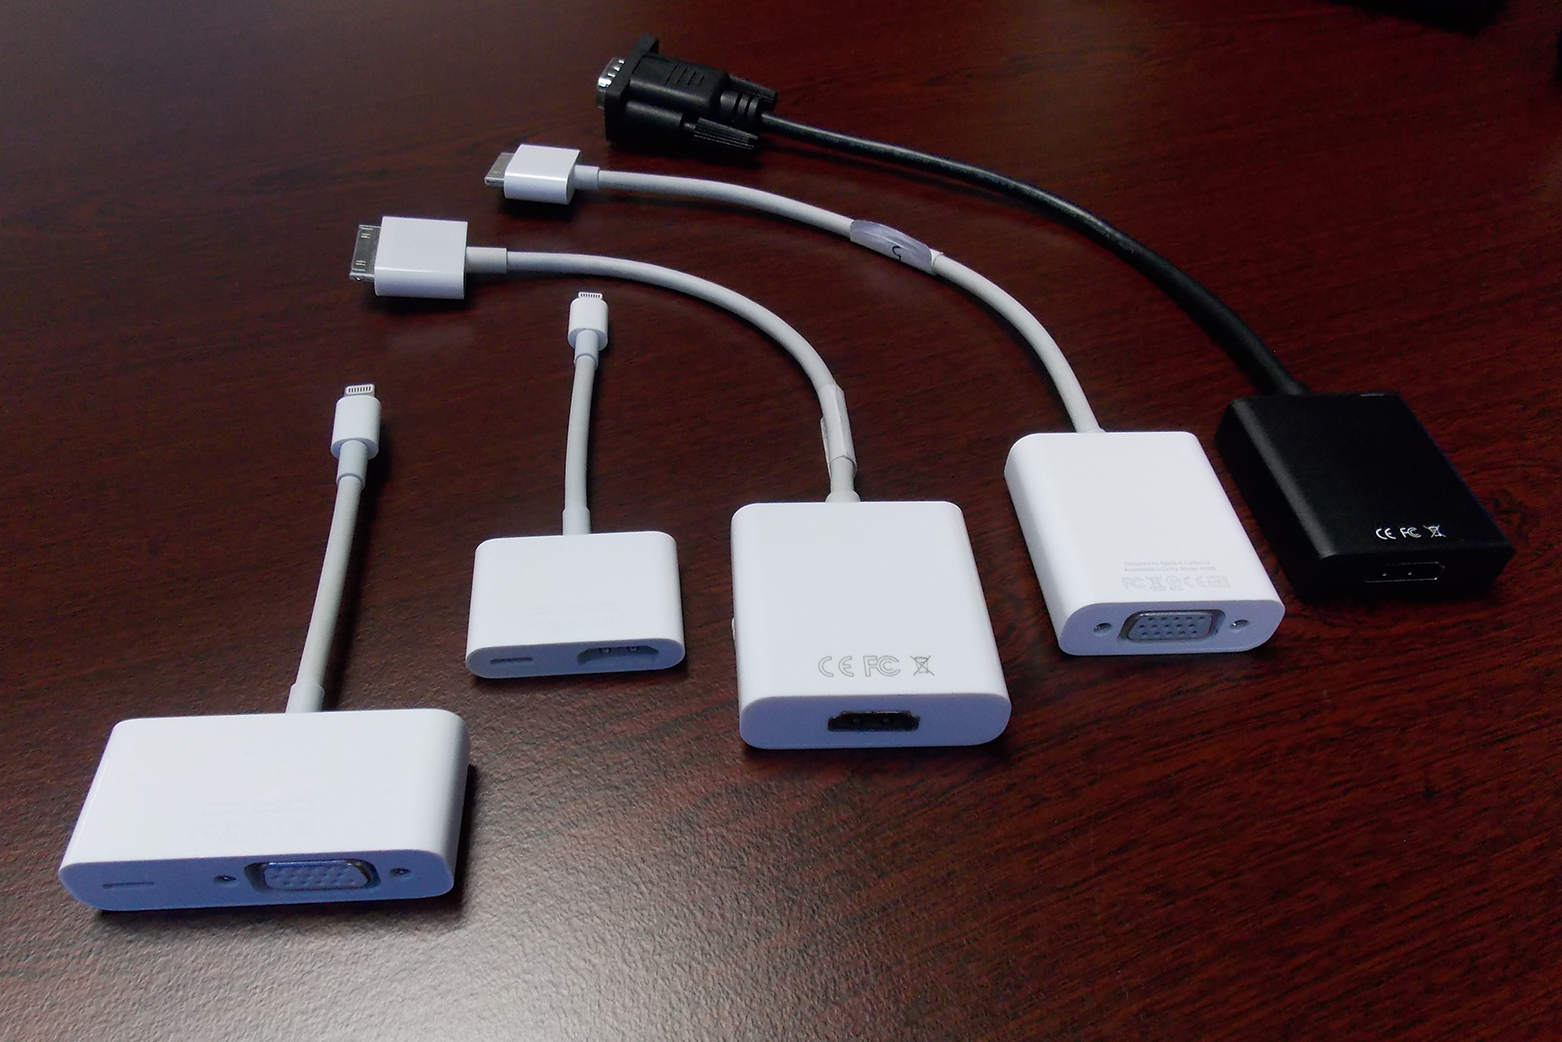
Connecting & Projecting a presentation from a Laptop/iPad
- We do have the following connectors available:
- TV to HDMI
- TV to VGA
- TV to iPad2/iPad Air
- If possible please provide your own laptop/ipad.
- Use the black TV remote to switch on the TV.
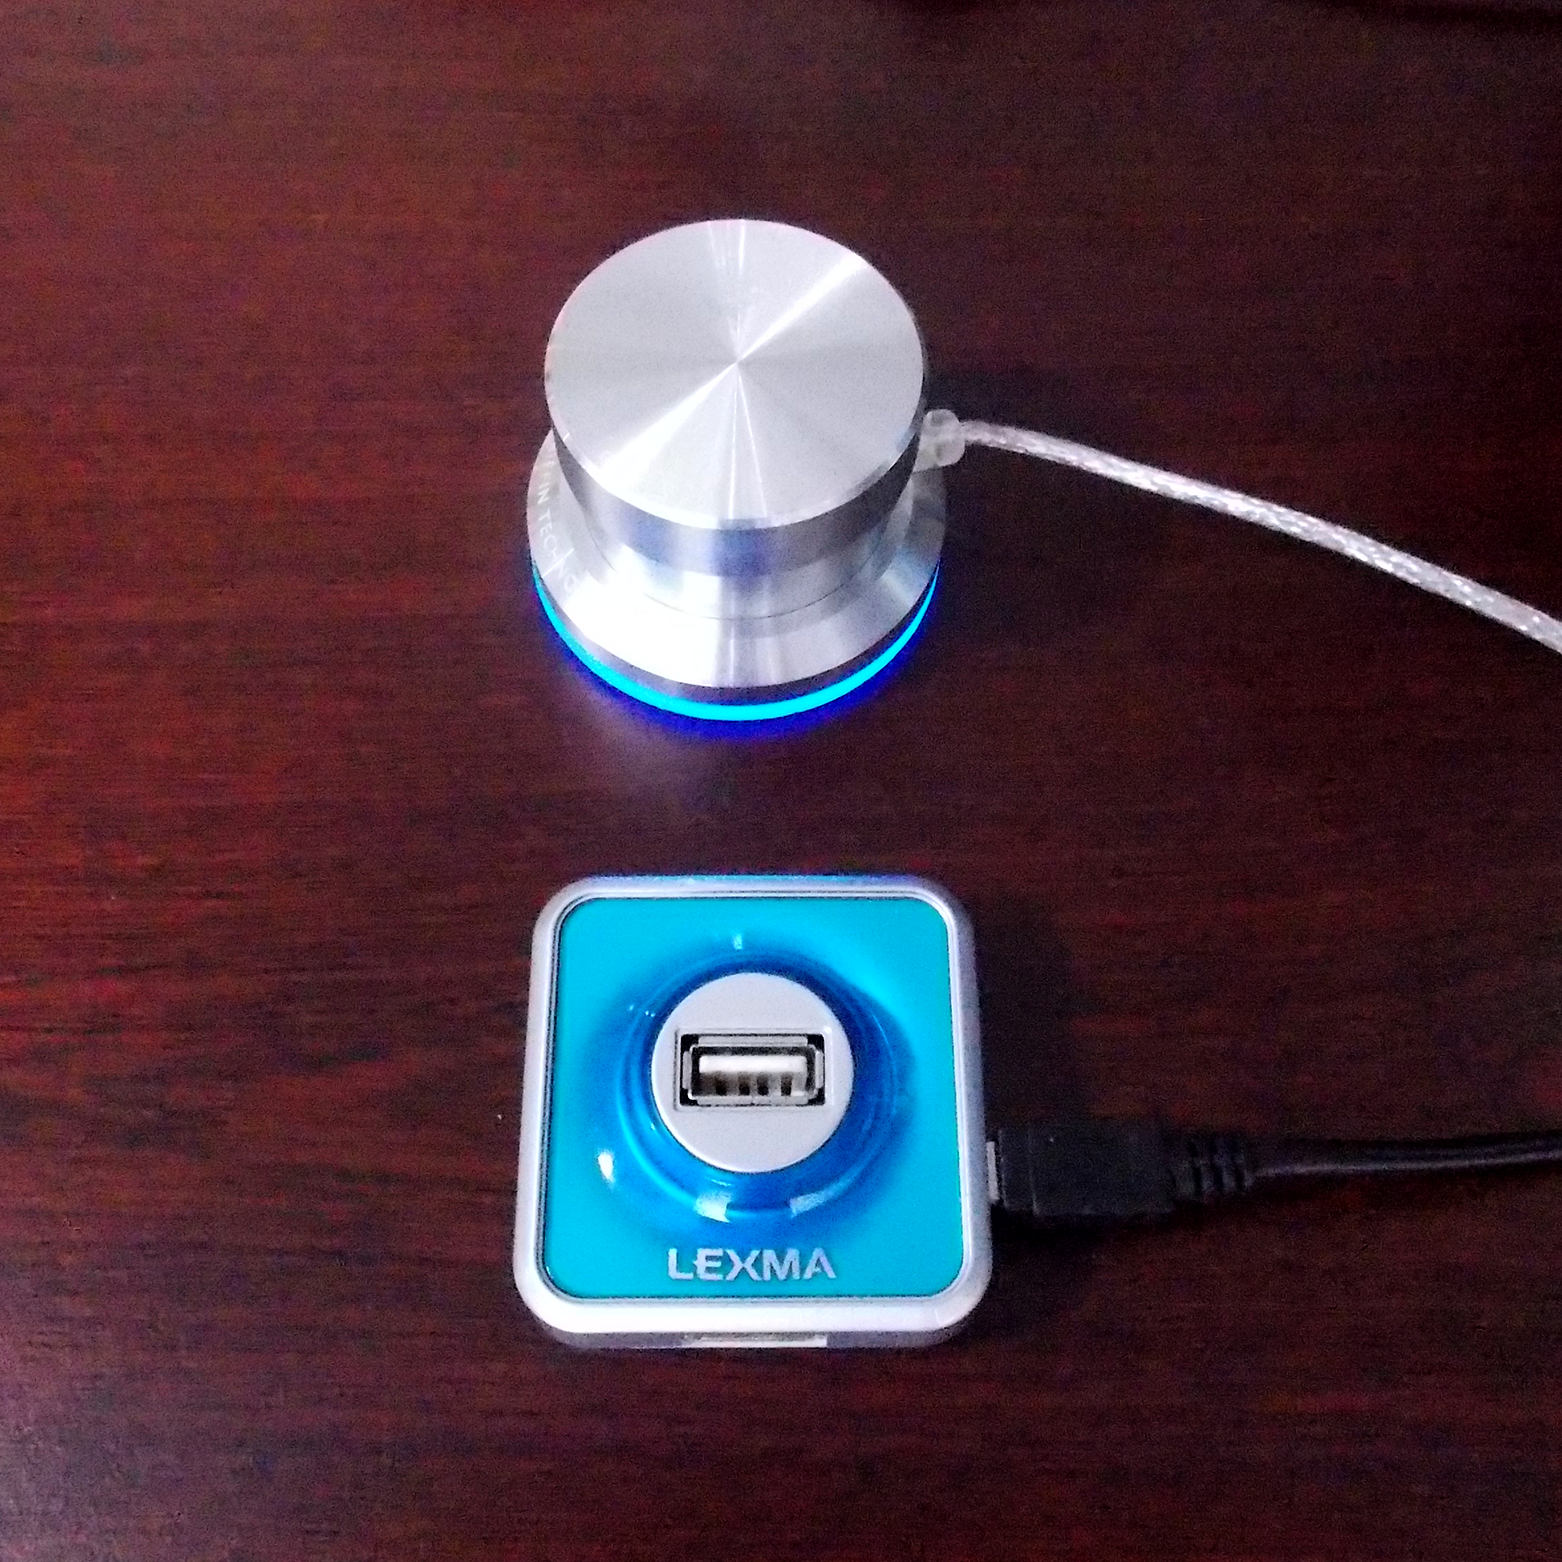
USB Dock and Recording Button
- Insert a single USB device into the silver USB dock.
- Press the silver button to start/stop recording.
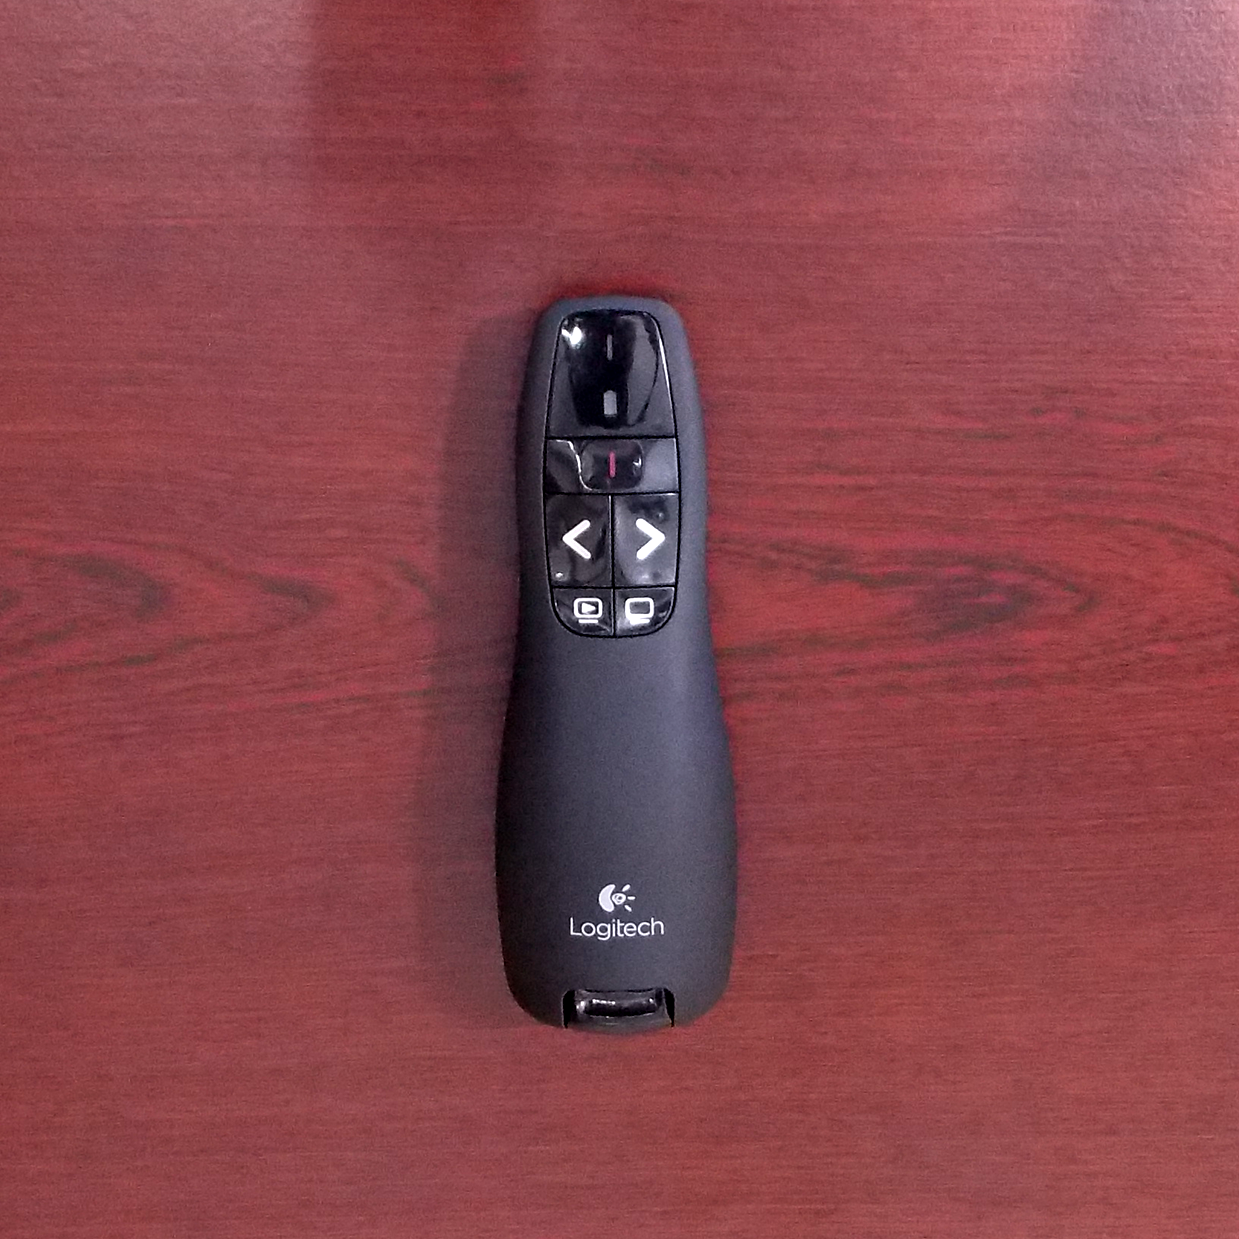
Presentation Remote
- To activate the remote, remove the USB stick from the base of the remote and insert it into the workstation cable or USB dock (left side of the workstation monitor).
- Do not forget to re-insert the USB stick into the remote before you return it to the ADS office.
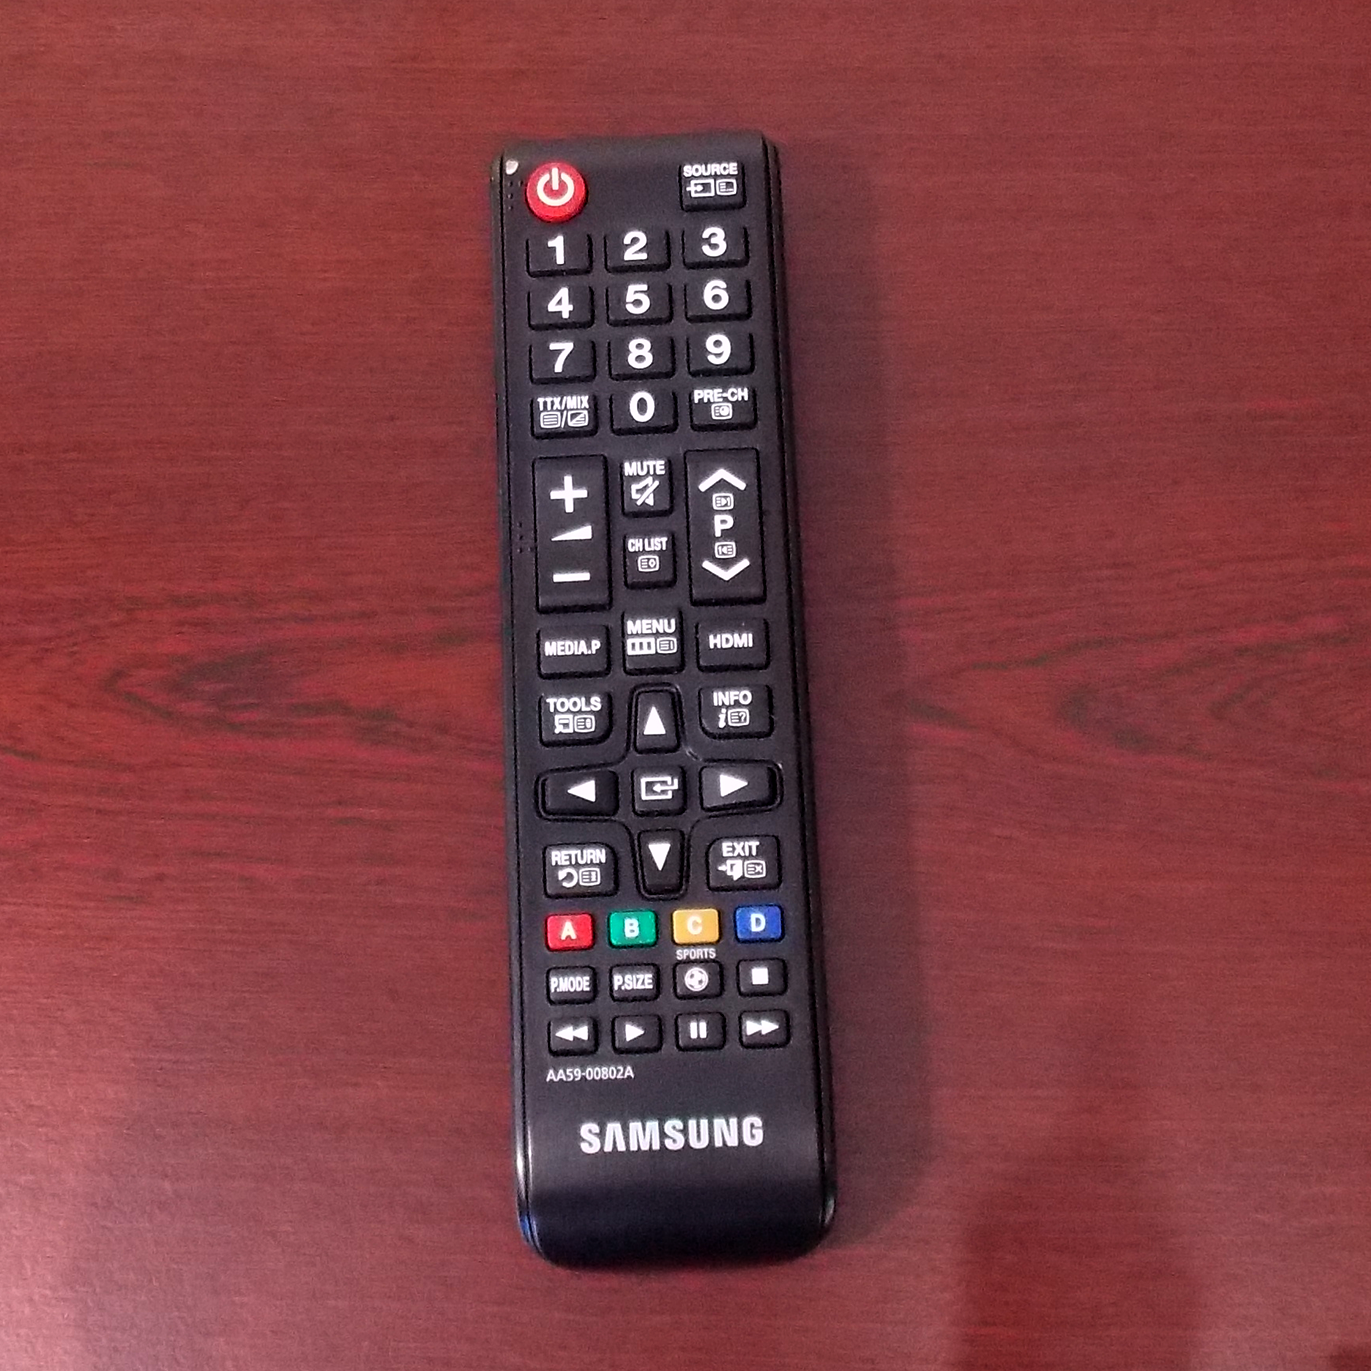
Television Remote
- Press the ON button to power on the television screen.
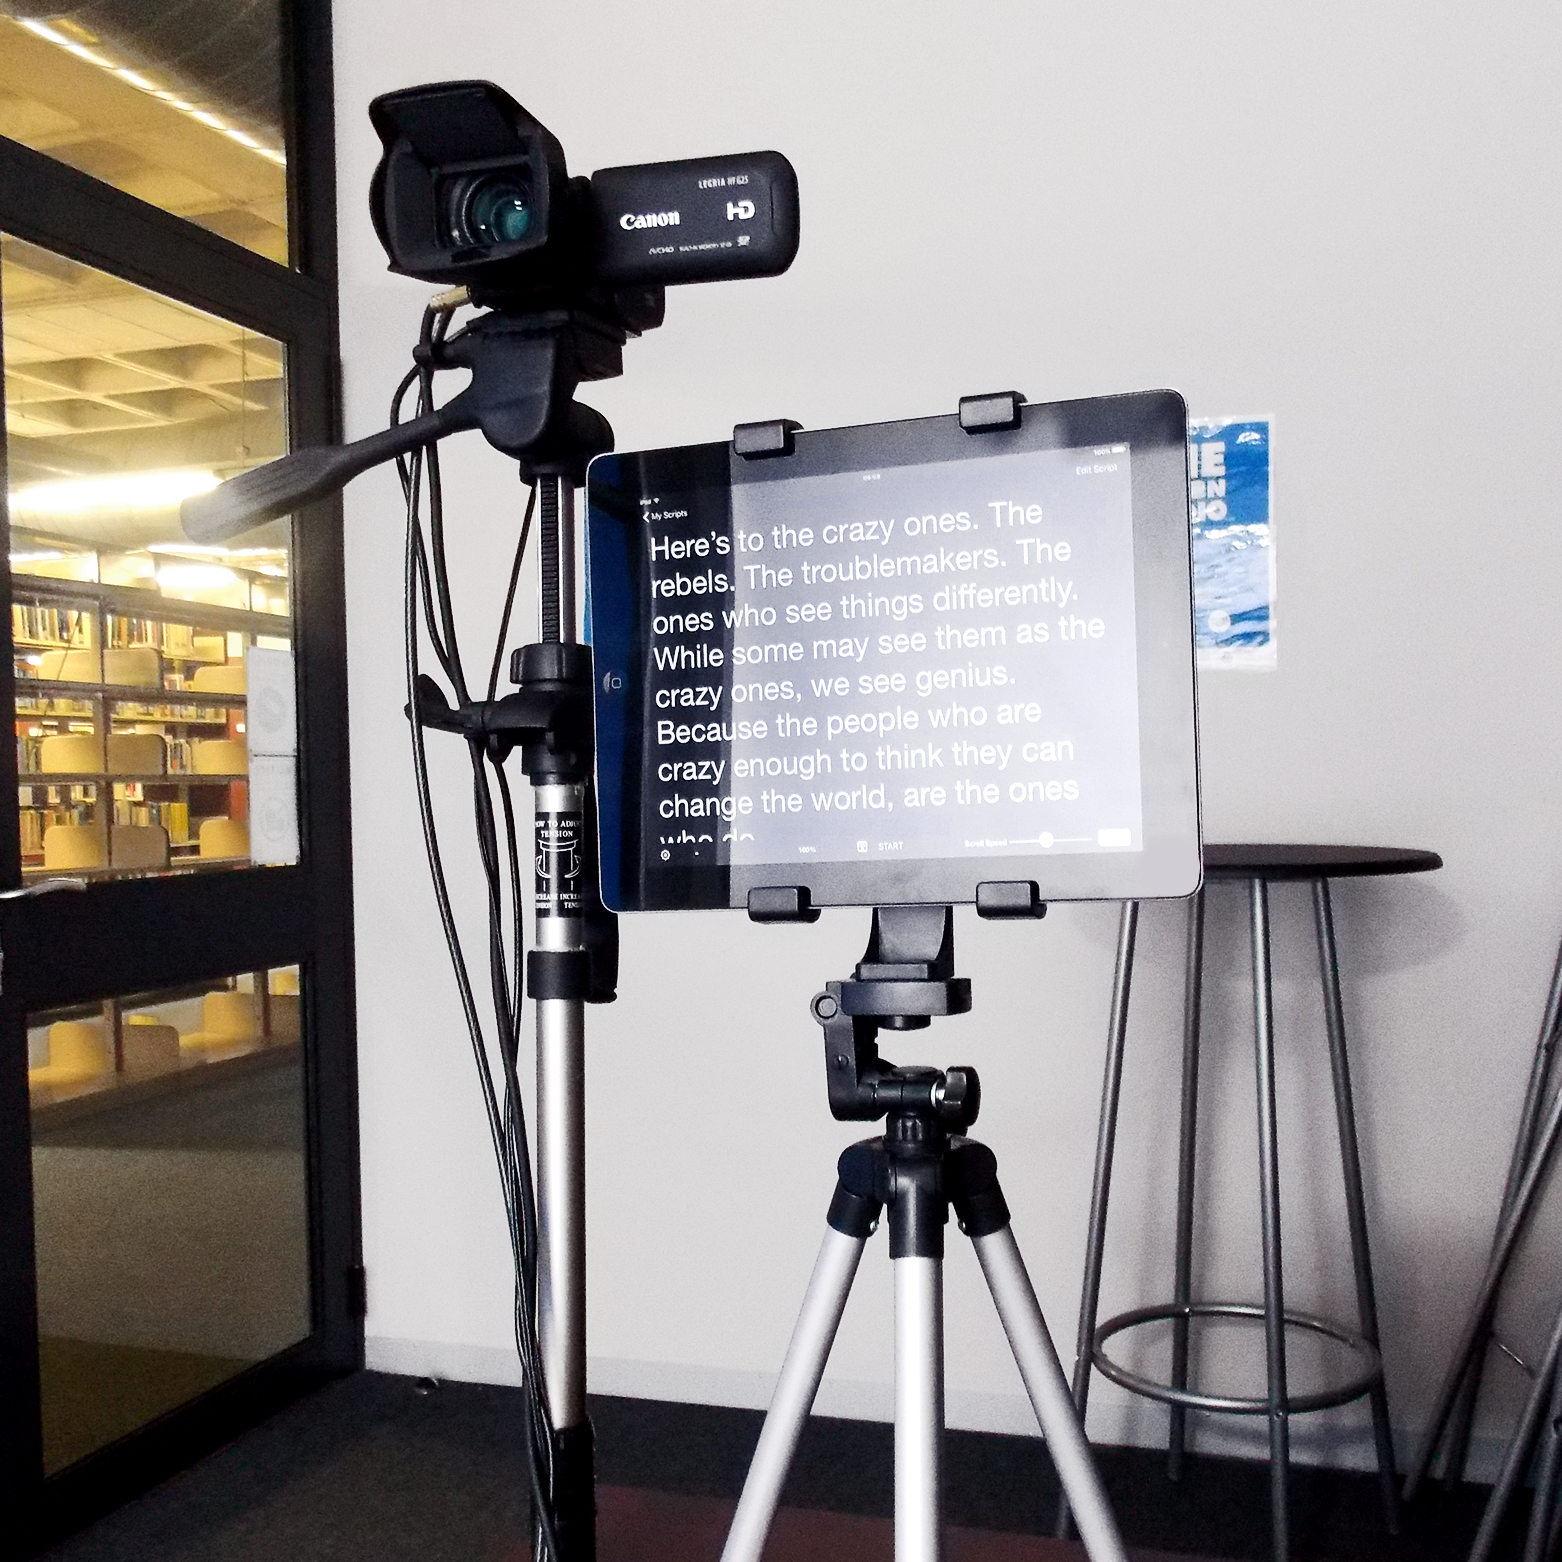
Teleprompter
- A teleprompter is available on request.
- Please email the script at least two hours before your booking to:
- Remember to include the date and time of your booking in the email.
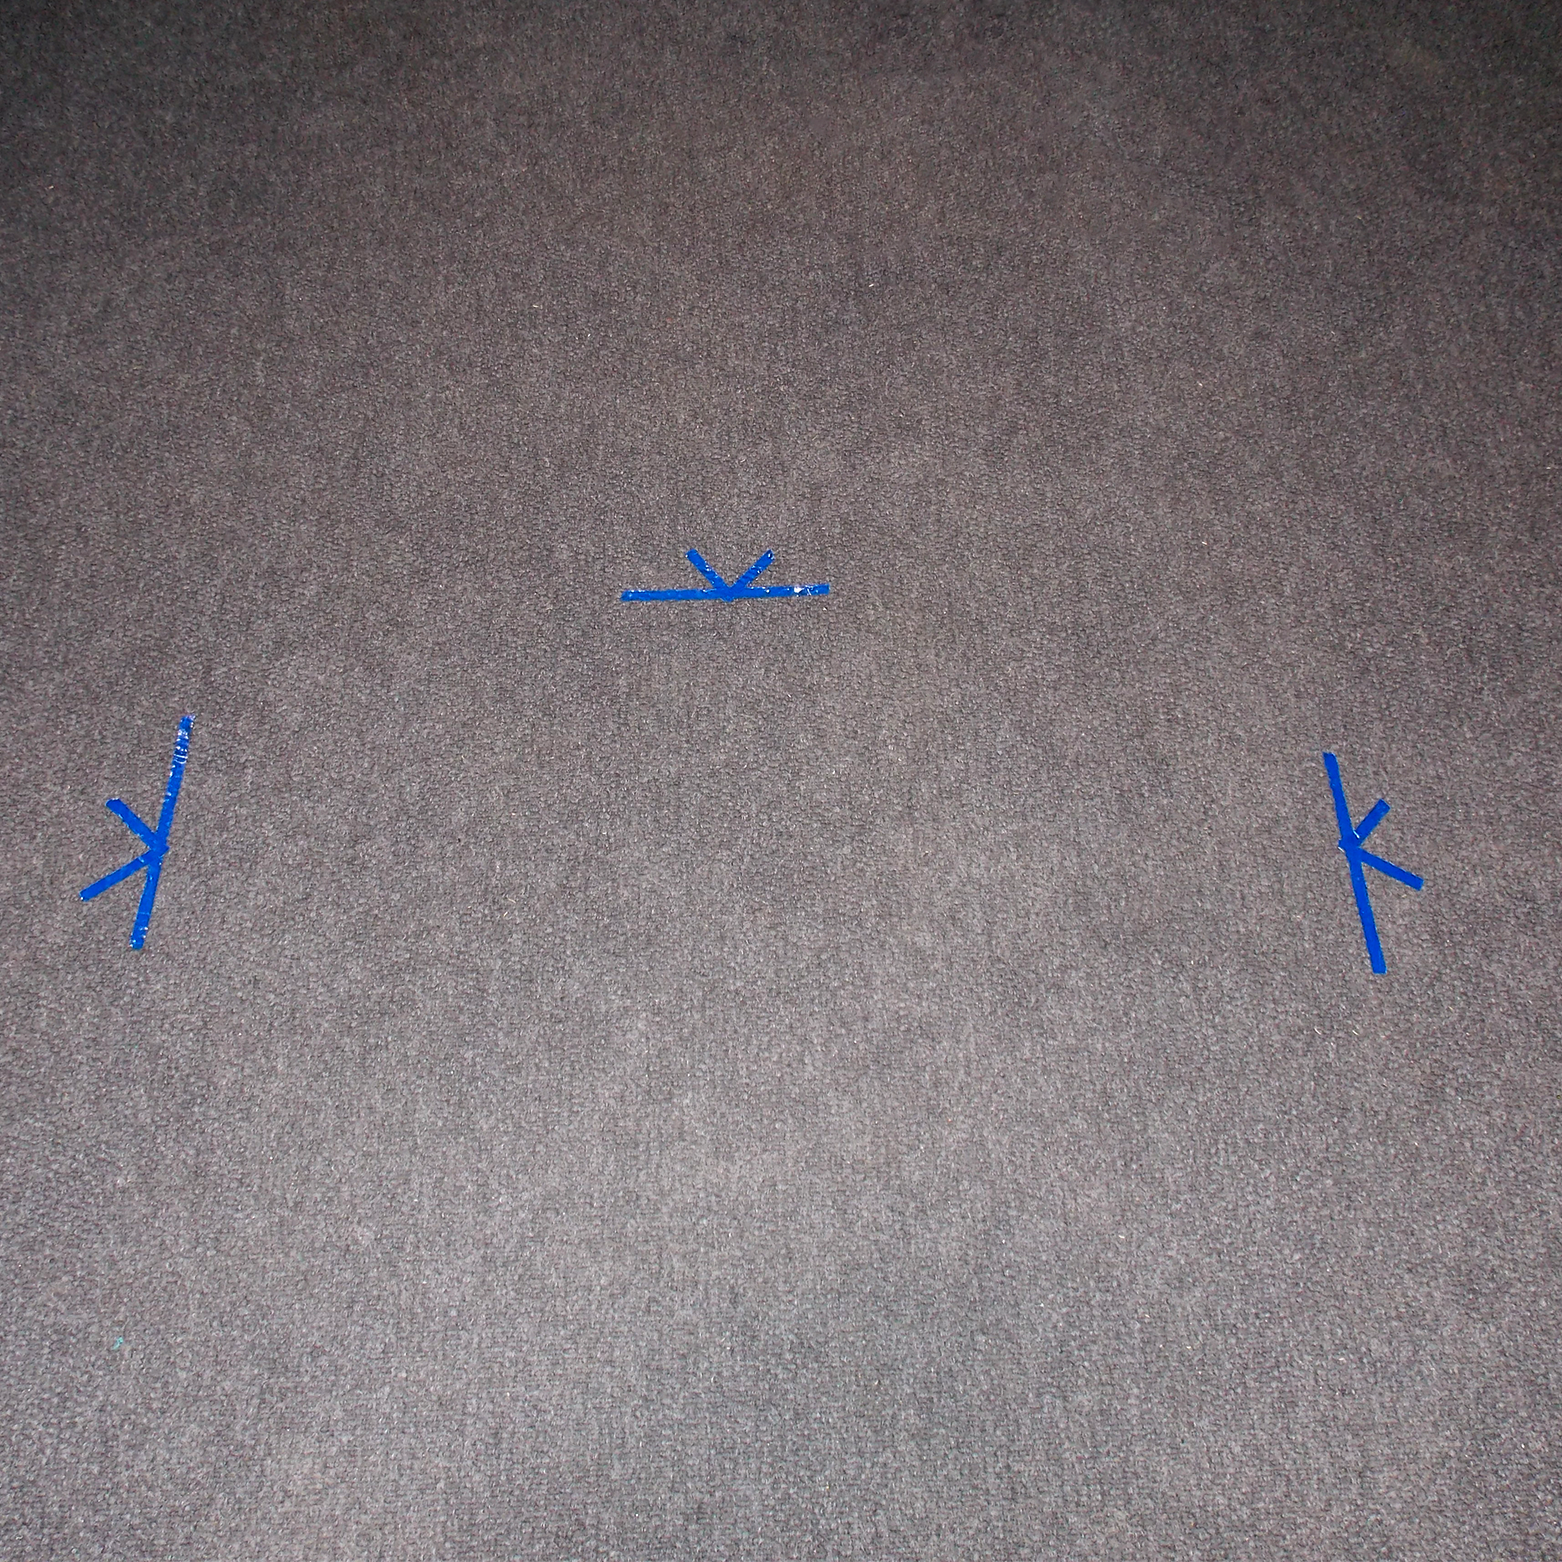
Stage
- The blue markings on the floor indicate your stage.
- Make sure that you stay within these marks to ensure that you stay on camera.
- Do not move closer to the camera than indicated, as the microphone will not be able to pick up your voice.
Studio 2
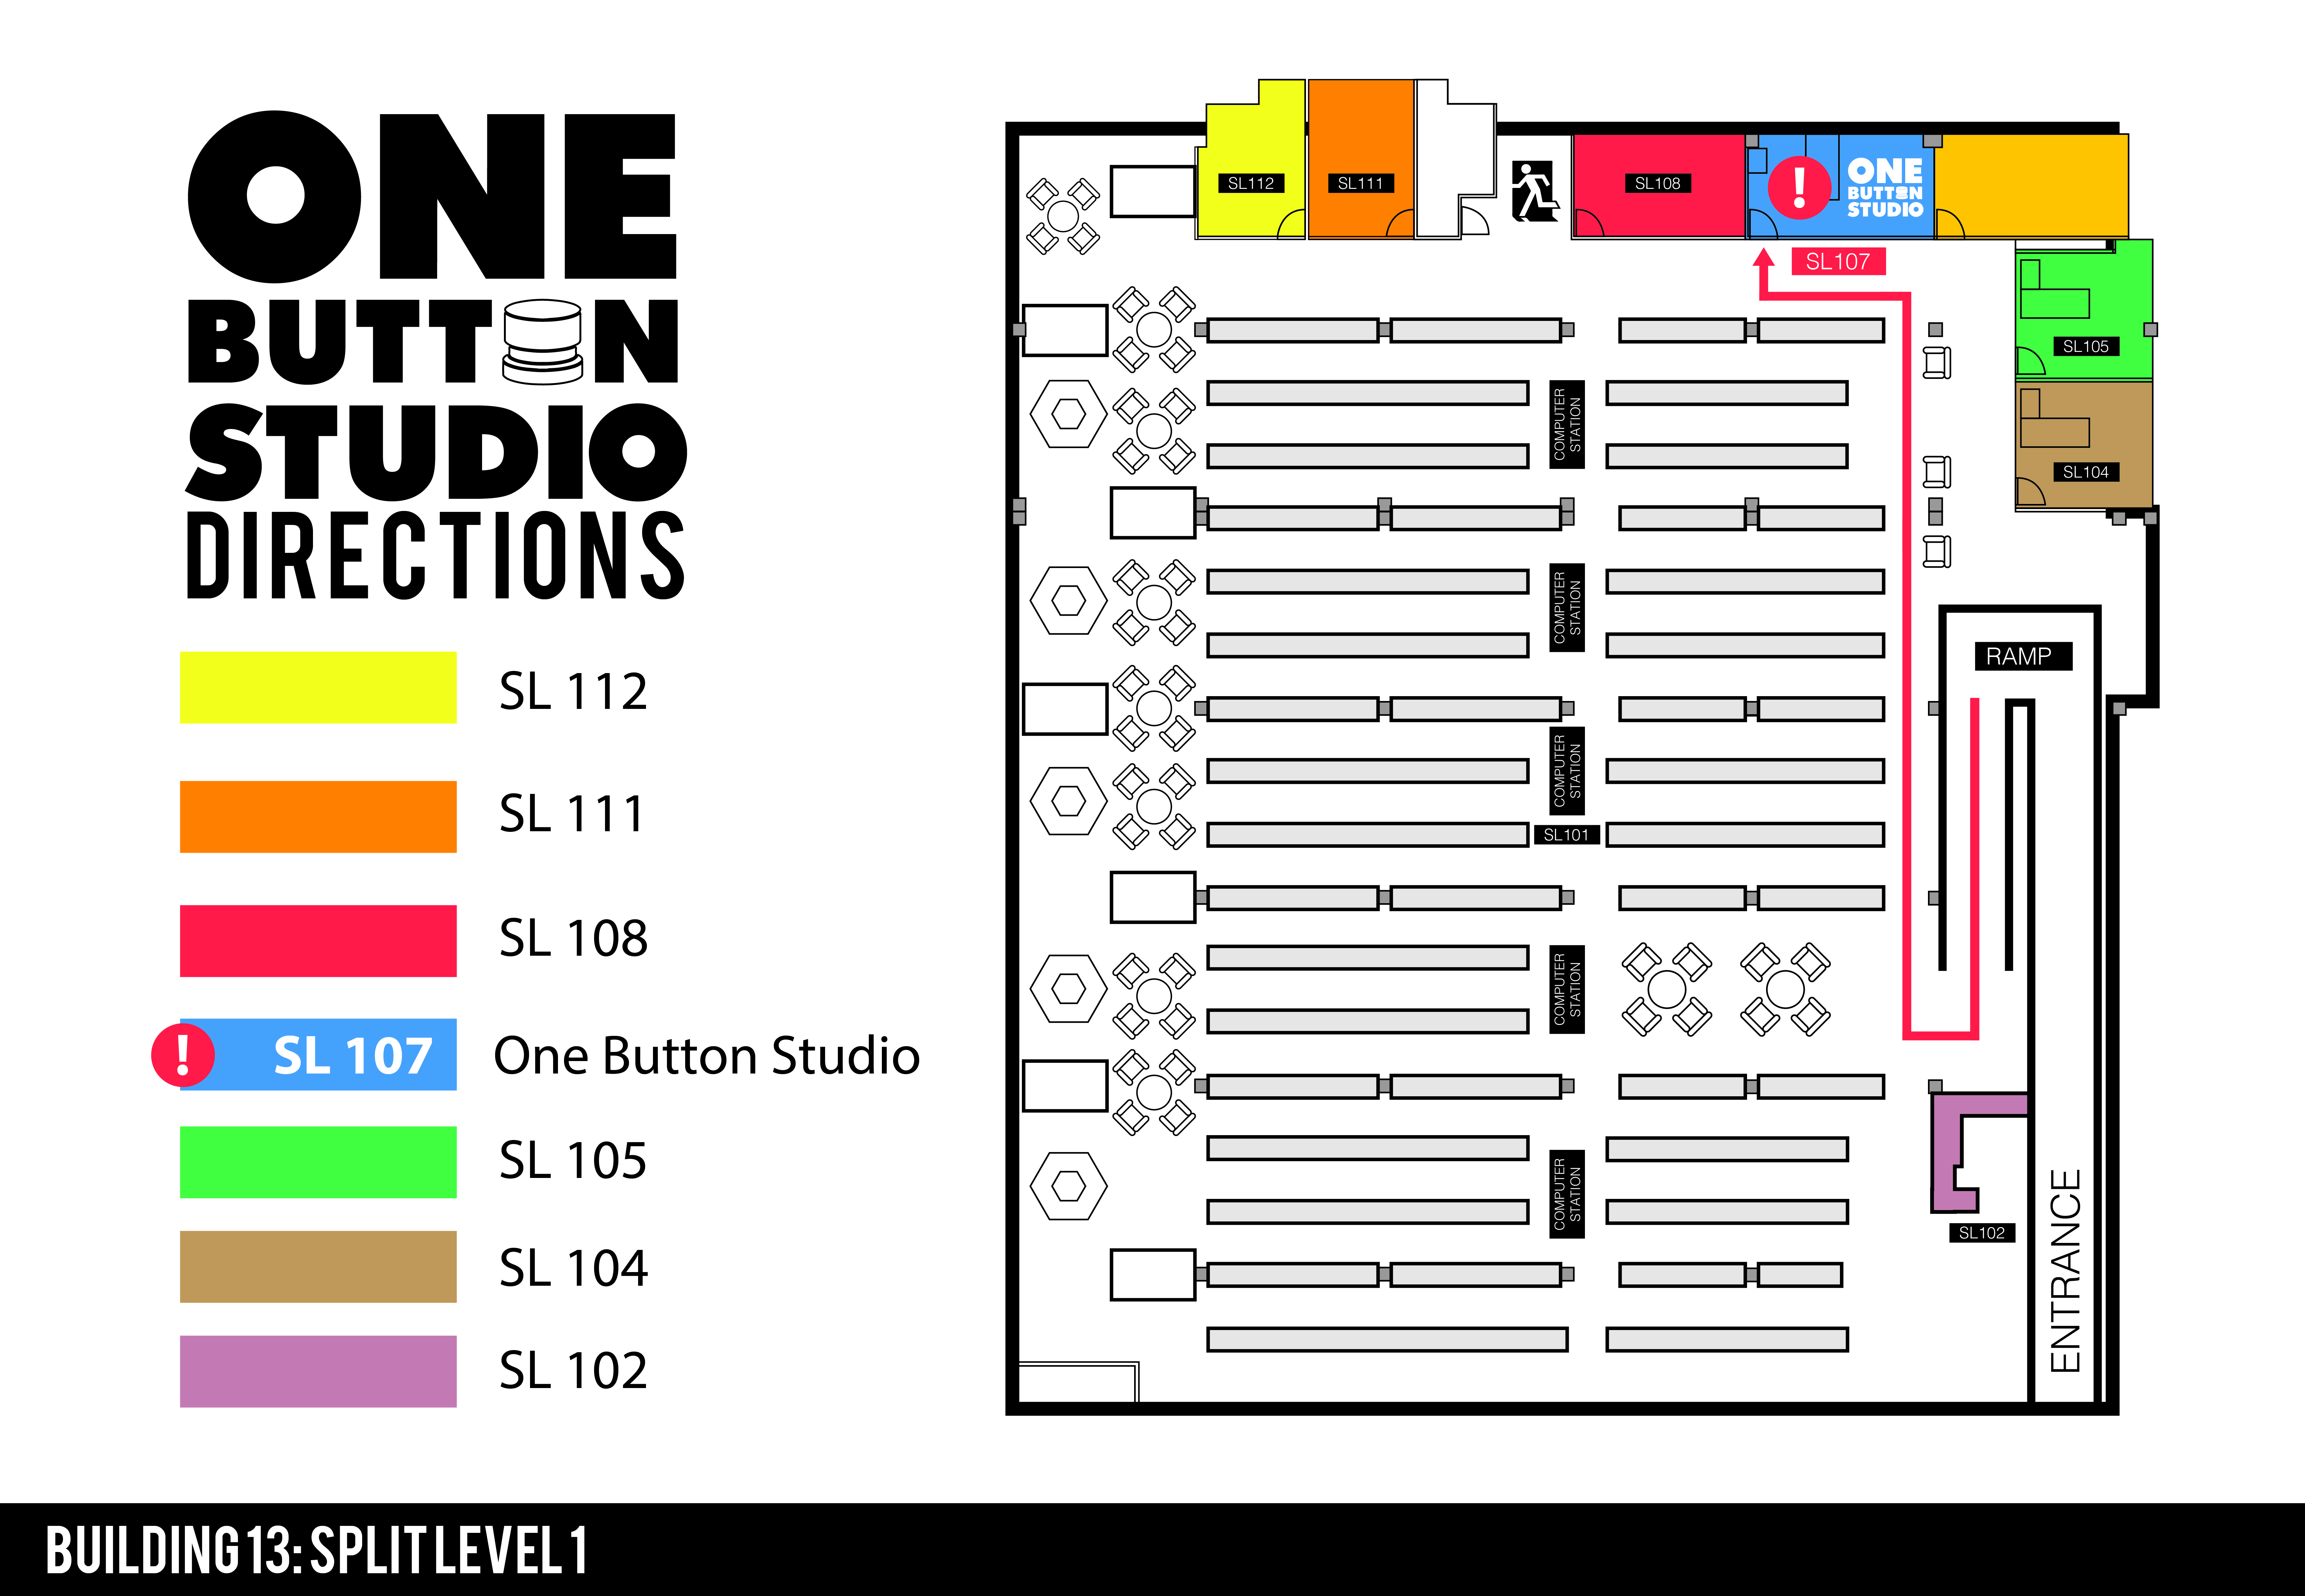
The One Button Studio is located in SL 107, Building 13: Learning and Research Commons.
One Button Studio Kiosk