Joey Podium Support
Find the correct podium guide for your venue and follow the step-by-step instructions to switch on, use, and switch off the system correctly.
Choose your venue type
Select the relevant podium type below to view the correct operating procedure for your venue.


Important Podium Guidelines
The following guidelines currently apply to the Vanderbijlpark campus and are intended to help protect lecture venue equipment and ensure continued availability for all users.
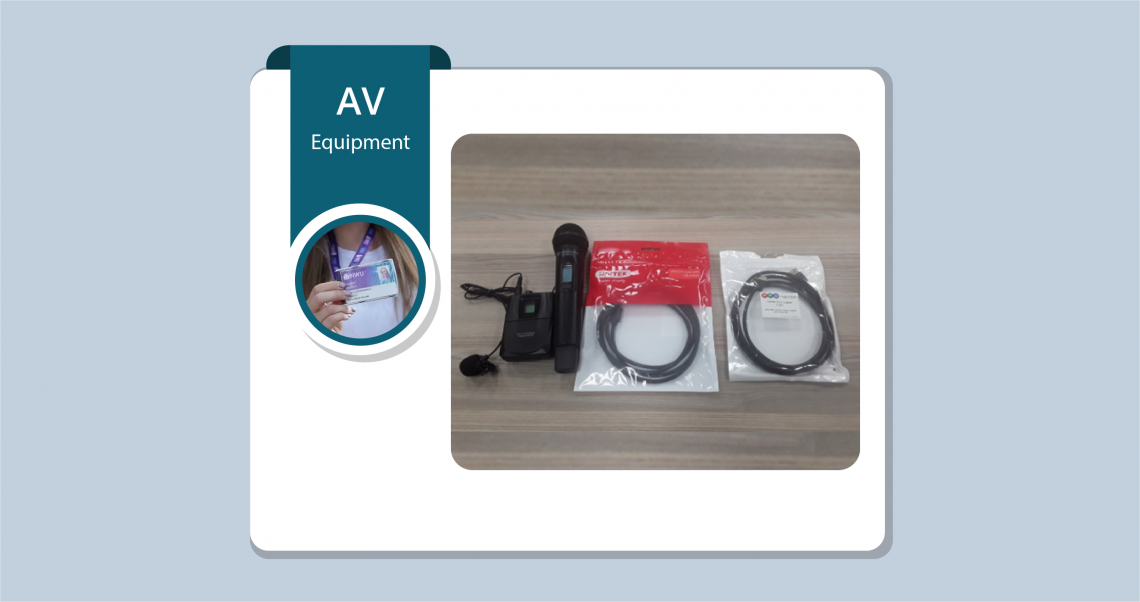
Microphone Batteries
Users should bring a set of AA batteries as a backup when using microphones during lectures, presentations, or classes. This helps prevent disruptions caused by depleted batteries during sessions.
Safekeeping of Microphones
After use, microphones must be returned to the designated safes or drawers inside the podium. Please do not leave microphones on top of podiums, as this creates a risk of theft, damage, or misplacement.
Switching Off Podium and Equipment
After each class, users must ensure that the podium and all associated equipment are switched off before leaving the venue. Leaving systems running, especially projectors, for extended periods can significantly shorten the equipment's lifespan.
Operating guides
Expand the relevant guide below for full operating instructions.
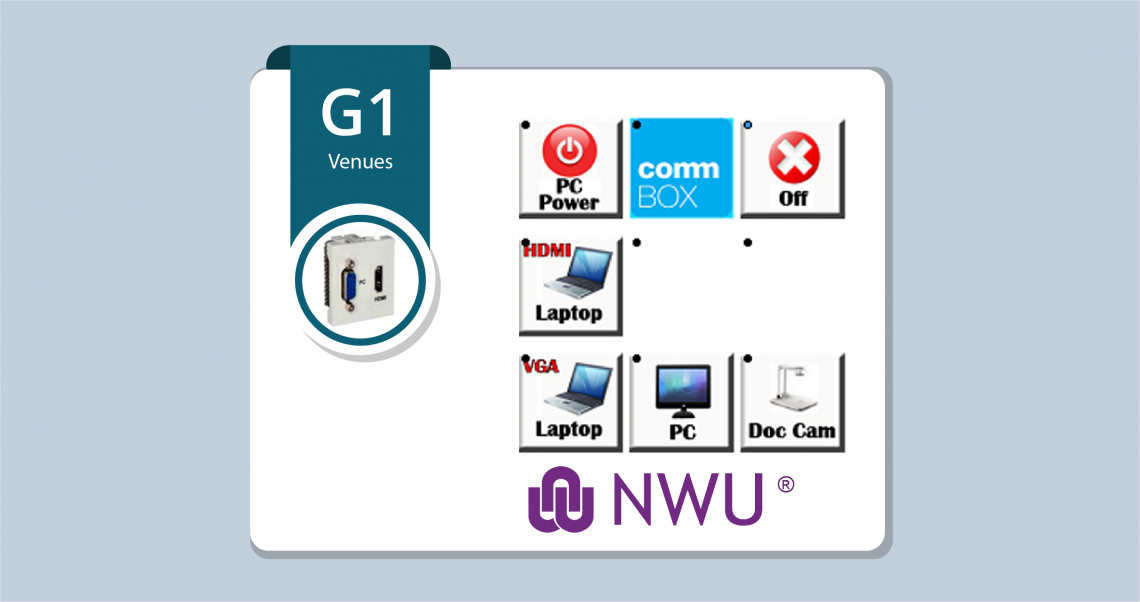
- Step 1: Swipe your card to switch on the system power. The projector will switch on.
- Step 2: Press PC on the Joey to switch on the PC.
- Step 3: Select the desired input, such as Laptop HDMI, VGA, or Doc cam, using your own cables.
- Step 4: Press Off, wait for everything to switch off, and then swipe your card on the card reader to switch off the system power.
- Step 5: Swipe your card at the exit to close the venue.
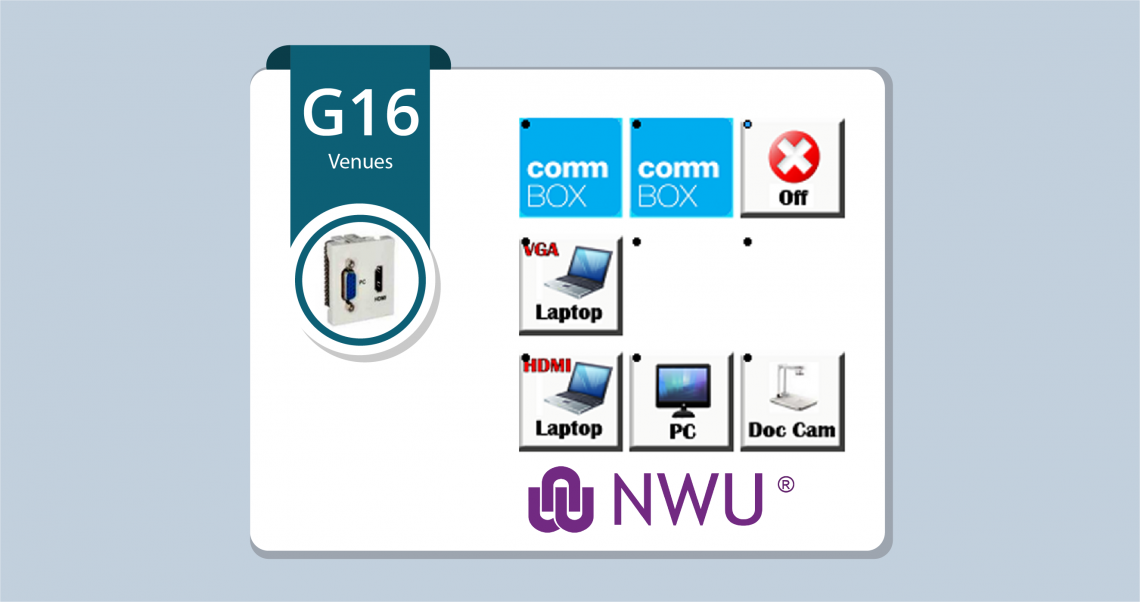
- Step 1: Swipe your card to open the venue doors.
- Step 2: Use your card on the card reader next to the podium to switch on the system.
- Step 3: Press PC to switch on the projector and the PC.
- Step 4: Select the required input, either Doc cam or Laptop. For laptop input, use your own HDMI or VGA cable at the patch point next to the Joey.
- Step 5: Press Off on the Joey, wait about one minute, and then swipe your card next to the podium.
- Step 6: Swipe your card at the exit door to close the venue.
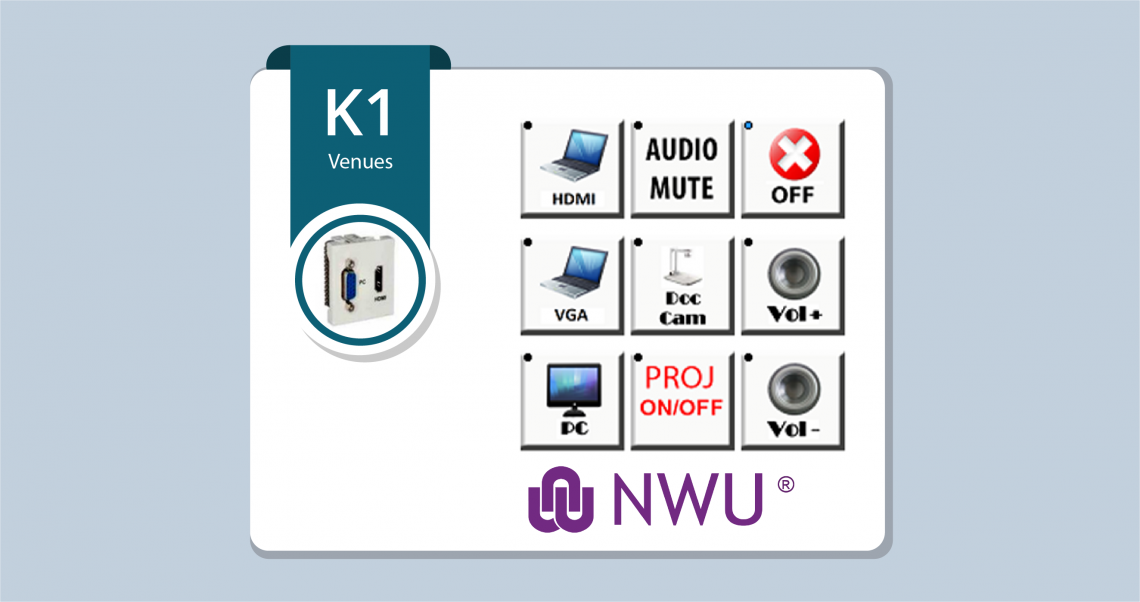
- Step 1: Swipe your card to switch on the system power. The PC, projector, and projector screens will switch on.
- Step 2: Select the desired input, such as Laptop HDMI, VGA, or Doc cam, using your own cables.
- Step 3: Use Volume Up or Volume Down to adjust the sound.
- Step 4: Press Off, wait for everything to switch off, and then swipe your card on the reader to switch off the system power.
- Step 5: Swipe your card at the exit to close the venue.

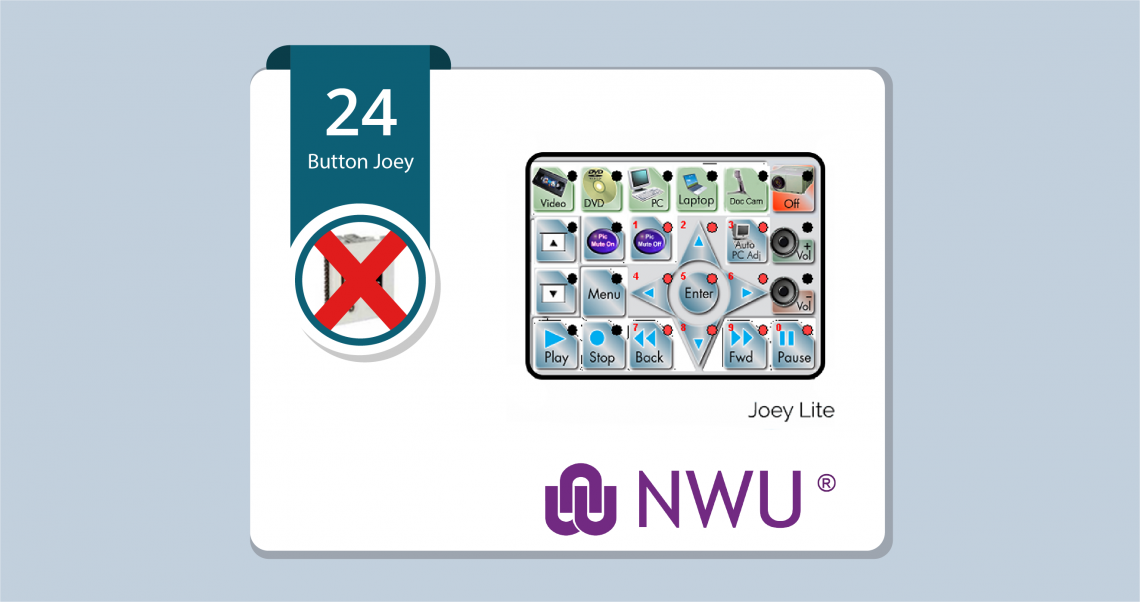
- Step 1: Press PC or another input such as Laptop, Doc cam, or HDMI to switch on the podium system. The projector will switch on. Some venues may also have projector remotes.
- Step 2: Switch on the PC on the podium. It is usually on the right-hand side at the front where the lecturer stands.
- Step 3: Choose the desired input. Connect your Laptop or HDMI cable to the patch point next to the Joey panel. The Doc cam button will flicker red until it turns green.
- Step 4: Switch off the PC and press the Off button on the Joey to switch off the system.
- Step 5: Close the podium and the venue and return the keys to the safe or collection point.
- Step 1: Press PC or another input such as Laptop, Doc cam, or HDMI to switch on the podium system. The projector and motorised screen will switch on. Some venues may also have projector remotes.
- Step 2: Switch on the PC on the podium. It is usually on the right-hand side at the front where the lecturer stands.
- Step 3: Choose the desired input. Connect your Laptop or HDMI cable at the patch point next to the Joey panel. The Doc cam button will flicker red until it turns green.
- Step 4: Switch off the PC and press the Off button on the Joey to switch off the system.
- Step 5: Close the podium and the venue and return the keys to the safe or the collection point.
- Venues with newer Joey installations that use access control: E5, B02, E9, 101, 102, 104, 105, 110, 111, 112, 117, 119, 203, 204, 205, 212, G1, G15B, K1, G34, 120B, 121, 122, K3, K21, HPI, N2A G01, N2B G01 and G02, N3A G01.
- Step 1: Swipe your NWU access card at the door to access the room.
- Step 2: Swipe your NWU access card at the podium to open the centre flap and switch on the AV equipment.
- Step 3: The centre flap houses the microphones, cables, and remotes assigned to the room.
- Step 4: Open the full Extron operation guide.